Your Posts are organized by Categories on your blog. In order to add additional Categories that appear on your blog Menu, follow the instructions on this Screencast:
If you prefer, the following step-by-step will assist you in adding Categories to your Menu:
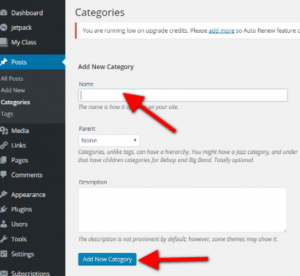
- Go to your blog Dashboard
- Hover over Posts
- Select Categories
- Scroll down to Add New Category and enter the name of the category
- Select the Add New Category button
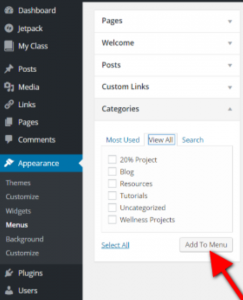
- Return to the menu on the left-hand side
- Hover over Appearance
- Select Menus
- Under Pages, select the center tab, View All
- Select the down arrow next to Categories
- Select View All
- Select the newly created Categories that you want to add to your menu
- Select Add to Menu
- Once they appear on the Menu to the right, make sure they are in the order that you want. You may drag them to change the order.
- When you are done, select Save Menu
- Return to View Site to check and make sure you new categories appear on your menu.
Ms. Ordonez is an English Language Development (ELD) teacher in the Ocean House at Vista High School in Vista, California.
- Edublogs: Adding Categories to the Menu - November 2, 2016
- October PLA Students of the Month - October 21, 2016
- PLA Seniors Attend Electorate Presentation - October 11, 2016